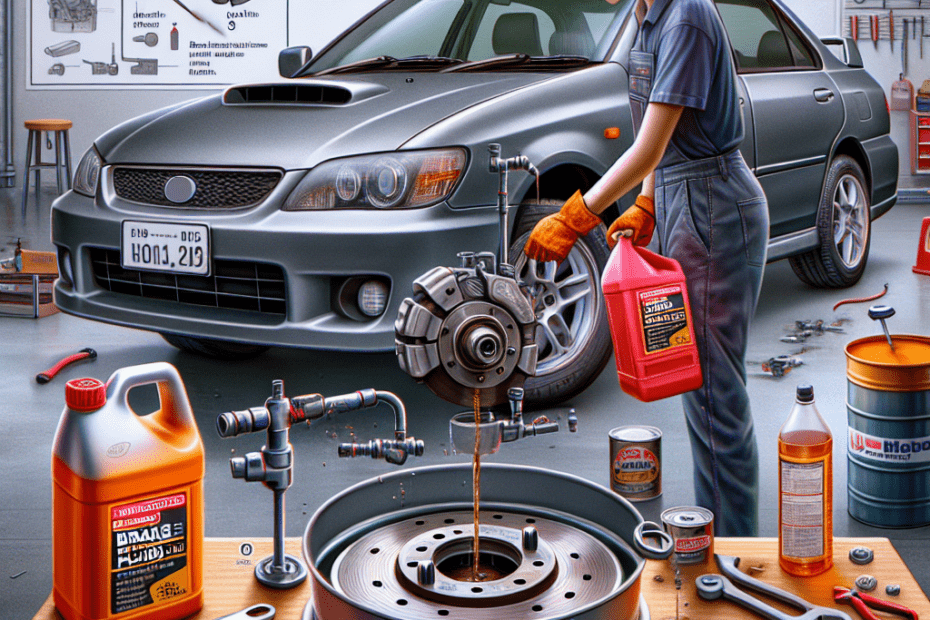
DIY Brake Fluid Change: A Simple Guide
They say vehicle maintenance is key to keeping cars safe and running smoothly. One of the most crucial maintenance tasks is a brake fluid change. Regular brake fluid changes can prevent accidents, enhance brake performance, and extend the life of brake components. According to the National Highway Traffic Safety Administration (NHTSA), approximately 22% of car accidents are caused by brake failures. Timely brake fluid changes can help prevent such issues.
What is Brake Fluid and Why is it Important?
Brake fluid is a hydraulic fluid that transfers the force from the brake pedal to the brake pads, causing the car to stop. It’s vital for the brake system’s efficiency. Over time, brake fluid can absorb moisture, which reduces its efficiency and may lead to brake failure.
When Should They Change Brake Fluid?
While manufacturers’ recommendations vary, most experts suggest changing brake fluid every two years or every 30,000 miles. They should check their vehicle’s owner manual for the exact specifications. It’s crucial to note that different vehicles may require different types of brake fluid (e.g., DOT3, DOT4).
Tools and Materials Needed
- Brake fluid (ensure it’s the correct type for the vehicle)
- Wrench
- Brake bleeder wrench
- Clear tubing
- Catch container
- Turkey baster or fluid pump
- Clean rags
- Jack and jack stands or ramps
- Owner’s manual
Step-by-Step Guide for Brake Fluid Change
1. Preparation
Before starting, they need to ensure that the car is on a flat surface and the engine is cool. They should gather all necessary tools and wear safety goggles and gloves to protect themselves.
2. Access the Brake Fluid Reservoir
They need to pop open the hood and locate the brake fluid reservoir. The owner’s manual can help them find it if they are unsure. It’s usually a small plastic container near the back of the engine bay.
3. Remove Old Brake Fluid
Using a turkey baster or fluid pump, they should remove as much old brake fluid as possible from the reservoir and place it into the catch container. It’s important not to spill brake fluid on car paint as it can cause damage.
4. Refill with New Brake Fluid
They need to pour new brake fluid into the reservoir until it reaches the “MAX” line. They should make sure they use the correct type of brake fluid.
5. Bleed the Brakes
Following the owner’s manual, they should locate the brake bleeder screws on each wheel. They start with the wheel furthest from the master cylinder. They attach clear tubing to the bleeder screw and place the other end in the catch container.
Using a wrench, they open the bleeder screw while a helper presses the brake pedal slowly. They close the screw before the pedal is released. They repeat this process until new, clean brake fluid comes out. They move to the next wheel and repeat.
6. Top Off the Brake Fluid
After they have bled all the brakes, they check the brake fluid level in the reservoir and top it off if needed. They should not overfill.
7. Test the Brakes
Before driving, they should test the brake pedal to ensure it feels firm. If it feels spongy, air might still be in the system, and they may need to repeat the bleeding process.
Benefits of Regular Brake Fluid Changes
- Enhanced brake performance
- Increased safety
- Extended brake component lifespan
- Prevention of brake system corrosion
- Cost savings on major repairs
| Brake Fluid Type | Recommended Change Interval |
|---|---|
| DOT3 | Every 2 years or 30,000 miles |
| DOT4 | Every 2 years or 30,000 miles |
| DOT5 | Every 3 years or 45,000 miles |
Key Takeaways
- Regular brake fluid changes are crucial for vehicle safety and brake performance.
- Tools needed include brake fluid, a wrench, clear tubing, and a catch container.
- The process involves removing old fluid, refilling, and bleeding the brakes.
- Follow the vehicle’s owner manual for specific instructions and brake fluid type.
- Testing the brakes afterward ensures there are no remaining issues.
FAQ
1. Why is brake fluid change important?
Brake fluid absorbs moisture over time, which can reduce braking efficiency and cause brake failure.
2. How often should they change their brake fluid?
Most experts recommend changing brake fluid every two years or every 30,000 miles, but it’s best to check the vehicle’s owner manual.
3. Can they change brake fluid themselves?
Yes, with the right tools and a step-by-step guide, they can perform a brake fluid change at home.
4. What type of brake fluid should they use?
They should refer to the owner’s manual to determine the correct type (e.g., DOT3, DOT4) for their vehicle.
5. What should they do if the brake pedal feels spongy after changing the fluid?
If the brake pedal feels spongy, air might still be in the brake system, and they might need to repeat the bleeding process.
Maintaining their vehicle, especially the brake system, ensures safety on the road. Following this simple guide allows them to perform a brake fluid change at home, saving money and enhancing their car’s performance.
