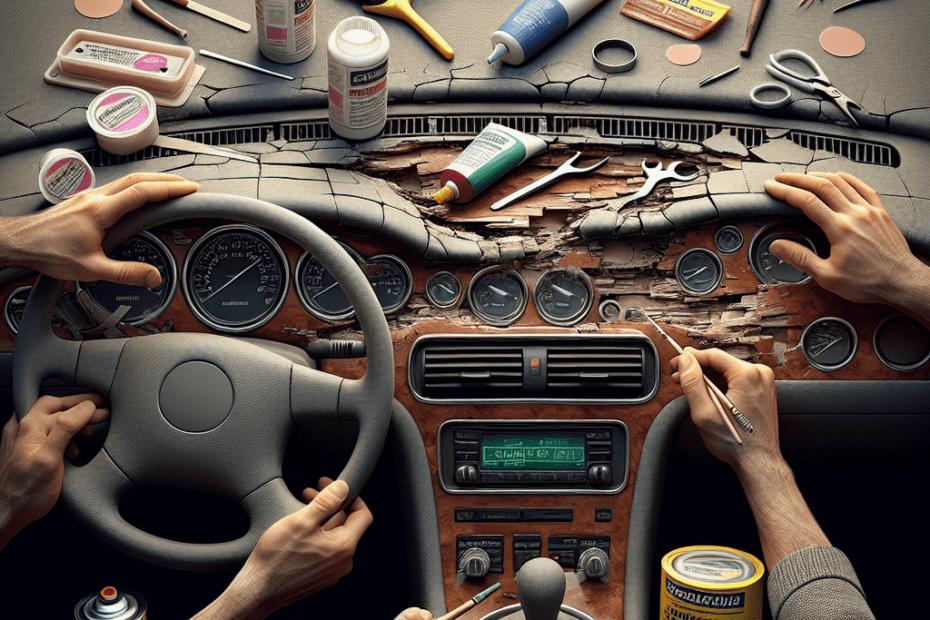
“`html
How to Repair a Car’s Dashboard Cracks
Car owners often take great care of their vehicles, making sure everything is in working order. However, one thing often neglected is the dashboard, which, over time, can develop unsightly cracks. These can result from sun exposure, age, or even fluctuating temperatures. Learning how to repair dashboard cracks not only improves the look of the interior but also helps maintain the car’s value.
Understanding Dashboard Cracks
According to a study by the National Highway Traffic Safety Administration (NHTSA), prolonged exposure to UV rays can significantly deteriorate vehicle interiors, causing nearly 60% of dashboards to develop some form of cracking over time. Cracks usually begin as small lines but can grow quickly if not addressed promptly.
Materials Needed for Repair
The following materials will be essential for anyone looking to repair dashboard cracks:
- Vinyl repair kit
- Sandpaper (grit between 400-800)
- Mild soap and water
- Clean cloth
- Painter’s tape
- Dashboard color spray or finish
Step-by-Step Repair Process
1. Cleaning the Dashboard
The first step in repairing dashboard cracks is to ensure the surface is clean. Use a mild soap mixed with water to remove any dust or grease. This helps the repair materials adhere better.
2. Prepping the Damaged Area
Once the surface is clean, use painter’s tape around the crack to protect surrounding areas. Gently sand around the cracked section using sandpaper. This smooths out rough edges and provides better adhesion for the repair material.
3. Applying the Vinyl Repair Kit
Open the vinyl repair kit and follow the instructions. Typically, this involves mixing a repair compound and carefully applying it over the crack. Use a spatula or the provided tools to ensure a smooth finish. Allow it to dry as per the product instructions.
4. Sanding and Final Touches
Once the repair compound has dried, sand the area lightly to achieve a smooth surface. Wipe the area down with a clean cloth to remove any dust.
5. Recoloring the Dashboard
To ensure the repaired area matches the rest of the dashboard, use a dashboard color spray or finish that matches your car’s interior. Apply uniformly across the repaired area and allow it to dry thoroughly.
Cost Comparison Table
The following table compares the estimated costs of DIY repair versus professional service for dashboard cracks:
| Repair Option | Estimated Cost (USD) |
|---|---|
| DIY Repair Kit and Supplies | $30 – $70 |
| Professional Repair Service | $150 – $500 |
Preventing Future Cracks
To prevent dashboard cracks from reappearing, car owners should consider the following tips:
- Use a windshield sun shade to block direct sunlight.
- Regularly clean and condition the dashboard with recommended products.
- Park the car in shaded areas or use a car cover.
Key Takeaways
In conclusion, repairing a car’s dashboard cracks involves cleaning, preparing the area, applying a vinyl repair kit, and recoloring the affected zone. Costs for DIY repairs are significantly lower than professional services, but the quality of results can differ. Regular maintenance and protective steps can prevent future damage.
Frequently Asked Questions
-
What causes dashboard cracks?
Dashboard cracks are often caused by prolonged exposure to UV rays, temperature fluctuations, and aging. -
Can all dashboard material types be repaired?
Most dashboards, especially vinyl and plastic, can be repaired using appropriate repair kits. -
Is it cheaper to repair dashboard cracks myself?
Yes, DIY repairs are generally more cost-effective than hiring a professional. -
How long does a dashboard repair take?
The process, if done properly, can take a few hours, including drying times. -
Are dashboard repair kits available online?
Yes, they are widely available on various online platforms and auto parts stores.
“`
